Composting is a fantastic way to reduce household waste and create nutrient-rich soil for your garden. If you’re new to composting, it might seem a bit overwhelming, but with a few simple tips, you can easily start composting at home and enjoy the benefits it brings. This guide will walk you through the basics of composting, what materials to use, and how to maintain your compost pile effectively.
What Is Composting?
Composting is a natural process where organic waste breaks down into a dark, crumbly substance called humus. This substance enriches soil, helps retain moisture, and supports healthy plant growth. By composting, you reduce the amount of waste sent to landfills and recycle nutrients back into your garden.
Why Compost at Home?
– Reduces Waste: About 30% of household waste is compostable. Composting lessens the load on landfills.
– Improves Soil: Compost adds essential nutrients and improves soil texture.
– Saves Money: Healthy soil reduces the need for chemical fertilizers.
– Environmentally Friendly: Composting lowers greenhouse gas emissions from landfills.
Getting Started: Composting Basics
Choose a Composting Method
There are several ways to compost at home. Pick one that suits your space and lifestyle:
– Compost Bin: Ideal for small yards or patios. Compost bins come in various sizes and designs.
– Compost Pile: A simple heap in the garden works well if you have space.
– Tumbler Composters: These allow easy turning and faster breakdown of materials.
– Vermicomposting: Using worms to break down food scraps, great for indoor composting.
Find a Suitable Location
Pick a dry, shady spot near a water source for your compost bin or pile. Good airflow and easy access will help maintain the compost.
What to Compost: Materials to Include and Avoid
Green Materials (Nitrogen-Rich)
Green materials provide nitrogen, which is essential for microbial growth.
– Fruit and vegetable scraps
– Coffee grounds and tea bags
– Fresh grass clippings
– Eggshells (crushed)
– Plant trimmings
Brown Materials (Carbon-Rich)
Brown materials provide carbon and help balance moisture.
– Dry leaves
– Straw or hay
– Shredded paper or cardboard (non-glossy)
– Wood chips or sawdust (in small amounts)
– Pine needles
Materials to Avoid
Certain items can attract pests or harm your compost.
– Meat, fish, bones
– Dairy products
– Oils and fats
– Pet waste
– Diseased plants or weeds with seeds
Tips for Successful Composting
Balance Greens and Browns
Aim for roughly a 1:3 ratio of green to brown materials. Too much green can create a smelly, wet pile, while too much brown slows decomposition.
Chop or Shred Materials
Smaller pieces break down faster, so chop kitchen scraps and shred leaves before adding them.
Keep the Compost Moist
Your compost should be as damp as a wrung-out sponge. Water it occasionally if it’s dry, but avoid soaking it.
Turn or Aerate Regularly
Turning the pile every 1–2 weeks adds oxygen, speeding up decomposition and preventing odors.
Be Patient
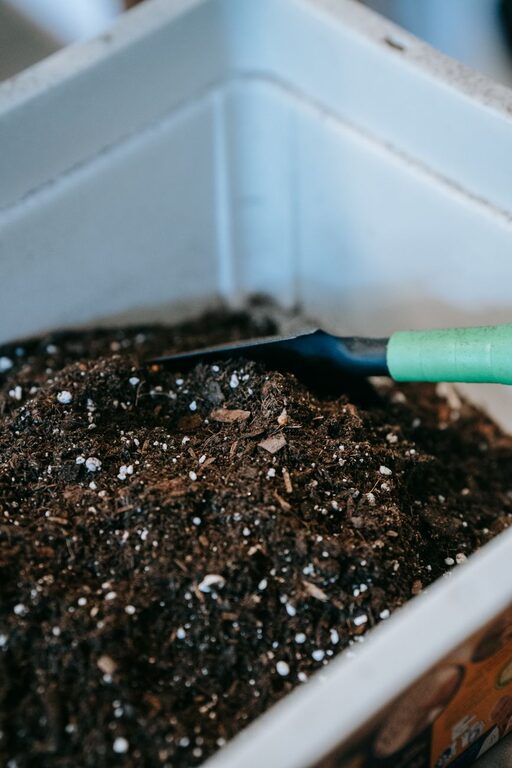
Composting can take from a few weeks to several months, depending on conditions. Finished compost is dark, crumbly, and earthy-smelling.
Troubleshooting Common Composting Problems
– Bad Odor: Usually a sign of too much moisture or green materials. Add more browns and turn the pile.
– Pile Is Dry: Add water and green materials to boost moisture and microbial activity.
– Pile Not Heating Up: Add nitrogen-rich greens and turn the pile to introduce oxygen.
– Pests or Rodents: Avoid adding meat or dairy, and keep food scraps buried under browns.
Using Your Finished Compost
When your compost is ready, mix it into garden beds, use it as mulch around plants, or incorporate it into potting soil. Compost improves soil structure, promotes healthy roots, and provides essential nutrients to plants.
Final Thoughts
Starting a compost pile at home is easier than you might think! With a little attention and care, you’ll reduce waste and create valuable soil for your garden. Remember to balance your materials, keep the pile moist and aerated, and be patient. Happy composting!
About the Author